Repairing a Mobile Home
When you first step into a space that has suffered damage, the initial task is to assess the extent of the destruction. This process is crucial, as it allows you to identify what needs immediate attention and what can wait. You should take a systematic approach, starting from the roof down to the foundation.
Look for visible signs of damage such as leaks, cracks, or warping. Pay close attention to areas that are often overlooked, like the attic or basement, where water damage can go unnoticed until it becomes a significant issue. Documenting your findings with photographs can be beneficial for insurance claims and for keeping track of what needs to be repaired.
As you assess the damage, it’s essential to consider not just the visible aspects but also the underlying issues that may not be immediately apparent. For instance, a small leak in the roof could lead to mold growth or structural damage if left unaddressed. Similarly, plumbing issues might not show themselves until you notice water stains on walls or ceilings.
Take your time during this assessment phase; rushing through it could lead to overlooking critical problems that could escalate into more significant repairs down the line. By being thorough and methodical, you can create a comprehensive plan for restoration that addresses both immediate and long-term needs.
Key Takeaways
- Assess the extent of damage to the roof, plumbing, electrical, siding, skirting, flooring, subflooring, windows, and doors.
- Gather necessary materials and tools for each specific repair task.
- Repair the roof by replacing damaged shingles, sealing leaks, and reinforcing weak spots.
- Fix plumbing and electrical issues by repairing leaks, replacing damaged pipes, and addressing faulty wiring.
- Repair siding and skirting by replacing damaged panels, reinforcing weak areas, and sealing gaps to prevent further damage.
- Address flooring and subflooring problems by replacing damaged flooring, reinforcing subflooring, and addressing any structural issues.
- Deal with window and door repairs by replacing damaged frames, sealing gaps, and ensuring proper functionality.
- Complete the repairs with finishing touches such as painting, sealing, and regular maintenance to prevent future damage.
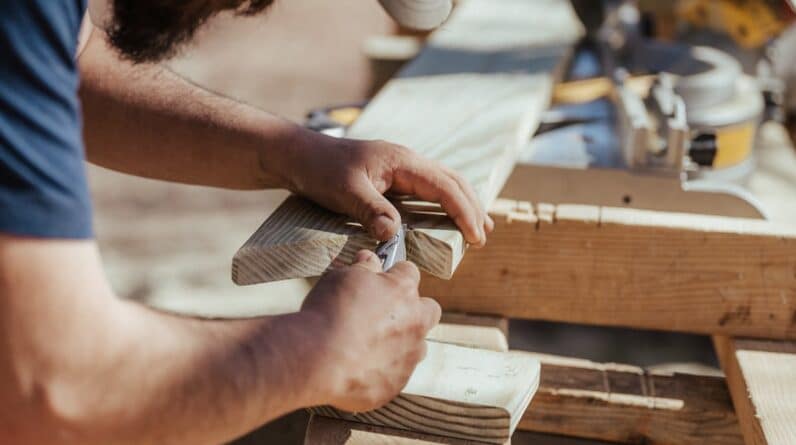
Gathering Necessary Materials and Tools
Once you have a clear understanding of the damage, the next step is to gather all the necessary materials and tools for the repairs. This phase is vital because having everything on hand will streamline your work and minimize interruptions. Start by making a detailed list of what you need based on your assessment.
For roofing repairs, you might require shingles, roofing cement, and safety gear like harnesses and helmets. If plumbing issues are present, you’ll need pipes, fittings, and possibly a wrench set. For electrical repairs, ensure you have wires, connectors, and circuit testers ready.
In addition to materials, don’t forget about the tools that will make your repairs easier and more efficient. A good toolbox should include essentials like hammers, screwdrivers, pliers, and saws. Depending on the scope of your project, you may also need specialized tools such as a nail gun for roofing or a pipe cutter for plumbing work.
Investing in quality tools can make a significant difference in the ease and effectiveness of your repairs. If you’re unsure about what specific tools you might need, consider consulting online resources or local hardware store experts who can provide guidance tailored to your project.
Repairing the Roof

With your materials and tools ready, it’s time to tackle one of the most critical aspects of home repair: the roof. A damaged roof can lead to a cascade of problems throughout your home, so addressing it promptly is essential. Begin by removing any damaged shingles or roofing materials carefully.
Ensure you wear appropriate safety gear during this process to protect yourself from falls or sharp objects. Once you’ve cleared away the damaged sections, inspect the underlying structure for any signs of rot or mold that may need treatment before new materials can be applied. After preparing the area, it’s time to install new roofing materials.
If you’re replacing shingles, make sure they match the existing ones in style and color for a cohesive look. Apply roofing cement generously to secure them in place and prevent future leaks. If your roof has more extensive damage or if you’re unsure about your ability to complete the repairs safely, it may be wise to consult with a professional roofer.
They can provide expertise and ensure that your roof is not only aesthetically pleasing but also structurally sound and capable of withstanding the elements.
Fixing Plumbing and Electrical Issues
Once the roof is secure, turn your attention to plumbing and electrical issues that may have arisen from water damage or other factors. Start with plumbing repairs by checking for leaks in pipes and fixtures. If you find any damaged sections, cut out the affected areas and replace them with new piping.
Be sure to use appropriate fittings and sealants to ensure a watertight connection. It’s also a good idea to inspect your water heater and other appliances for any signs of wear or damage that could lead to future problems. Electrical repairs require a different approach but are equally important for safety and functionality.
Begin by turning off power to affected areas at the circuit breaker before inspecting wiring and outlets for damage. Look for frayed wires or burnt-out outlets that may need replacement. If you’re comfortable working with electrical systems, you can replace damaged components yourself; however, if you’re uncertain about any aspect of electrical work, it’s best to hire a licensed electrician.
They can ensure that all repairs meet safety codes and standards, providing peace of mind as well as functionality.
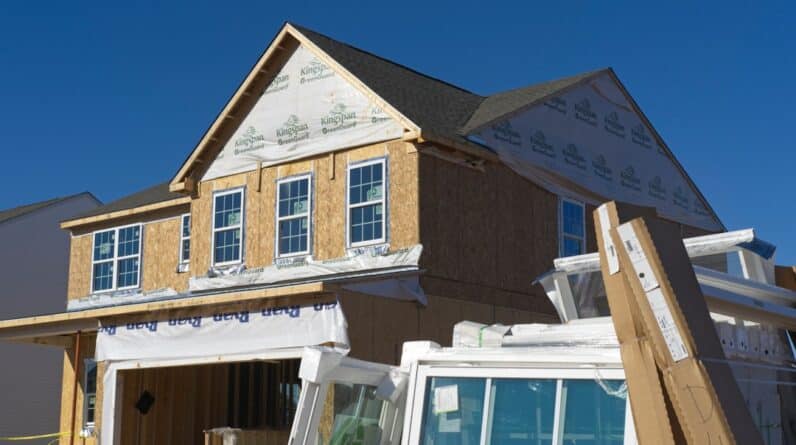
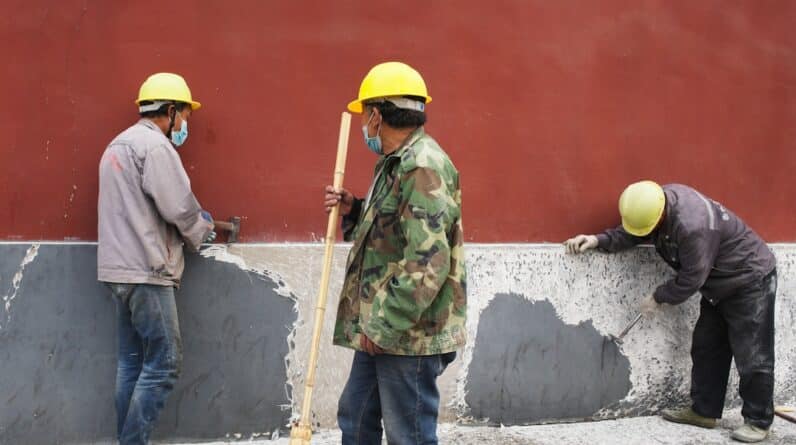
Repairing Siding and Skirting
After addressing plumbing and electrical issues, focus on repairing siding and skirting around your home. These elements not only contribute to your home’s aesthetic appeal but also play a crucial role in protecting it from weather elements. Start by inspecting the siding for cracks, warping, or missing pieces.
Depending on the material—be it vinyl, wood, or fiber cement—you may need different repair techniques. For instance, wood siding may require sanding and repainting, while vinyl siding might need replacement panels. Skirting is equally important as it helps insulate your home and protects against pests.
Check for any gaps or damage in the skirting material and replace or repair as necessary. If you’re using wood skirting, consider treating it with a weather-resistant sealant to prolong its lifespan. For vinyl skirting, ensure that it is securely fastened and free from cracks that could allow moisture in.
By taking care of these exterior elements, you not only enhance your home’s curb appeal but also fortify its defenses against future damage.
Addressing Flooring and Subflooring Problems

With the exterior repairs complete, shift your focus indoors to flooring and subflooring issues that may have arisen from water damage or wear over time. Start by removing any damaged flooring materials such as carpet, tiles, or hardwood planks. Inspect the subfloor beneath for signs of rot or mold; if you find any compromised areas, they will need to be replaced before new flooring can be installed.
This step is crucial because a solid subfloor provides stability and support for your new flooring. Once you’ve addressed any subfloor issues, it’s time to choose new flooring materials that suit your style and budget. Whether you opt for laminate, hardwood, tile, or carpet, ensure that they are appropriate for the room’s function—consider moisture-resistant options for bathrooms or kitchens.
Installation methods will vary depending on the material chosen; some may require glue or nails while others simply snap together. Take your time during this process to ensure a professional-looking finish that will stand up to daily wear and tear.
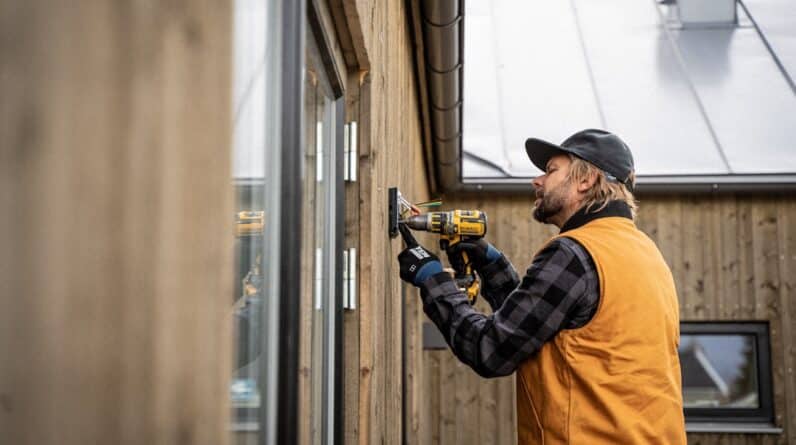
Dealing with Window and Door Repairs
Next on your list should be window and door repairs, which are essential for maintaining energy efficiency and security in your home. Start by inspecting each window and door frame for signs of damage such as rot or warping. If you find any compromised areas, they will need to be repaired or replaced before moving on to other tasks.
For windows with broken glass panes, carefully remove the damaged glass and replace it with new glass cut to size; be sure to use appropriate glazing putty to secure it in place. Doors may require adjustments as well; check hinges for rust or wear and replace them if necessary. If doors are sticking or not closing properly, they may need realignment or shimming to ensure they function smoothly.
Additionally, consider weather stripping around doors and windows to improve insulation and reduce energy costs. By addressing these details now, you’ll enhance both comfort and security in your home while also improving its overall appearance.
Finishing Touches and Maintenance
Finally, once all major repairs are complete, it’s time for those finishing touches that will bring everything together beautifully. This phase includes painting walls, adding trim work, or installing new fixtures that reflect your personal style. Choose colors that complement each other throughout your space while considering lighting conditions; lighter colors can make small spaces feel larger while darker hues add warmth and coziness.
Maintenance is equally important after completing repairs; regular upkeep will help prevent future issues from arising. Create a schedule for routine inspections of key areas such as roofs, plumbing systems, electrical components, siding, windows, doors, flooring—essentially every aspect of your home that requires care over time. By staying proactive about maintenance tasks like cleaning gutters or checking for leaks early on, you’ll save yourself from more extensive repairs down the line while ensuring that your home remains a safe haven for years to come.
In conclusion, restoring a damaged home is no small feat; however, by following these steps methodically—from assessing damage through gathering materials all the way to finishing touches—you can successfully navigate this challenging process with confidence. Each phase builds upon the last while ensuring that every detail receives attention along the way—ultimately resulting in a home that not only looks great but functions effectively too!
If you are looking for DIY hacks and tips from the pros to empower homeowners, check out this article on Better Home Contractor. They offer valuable insights and advice on how to tackle home improvement projects on your own. Additionally, if you are located in Apple Valley or Lynwood, California, you may want to consider reaching out to Better Home Contractor in Apple Valley or Better Home Contractor in Lynwood for professional assistance with repairing your mobile home.
FAQs
What are common repairs needed for a mobile home?
Some common repairs needed for a mobile home include fixing plumbing issues, repairing the roof, addressing electrical problems, and replacing damaged siding or skirting.
How can I repair the roof of a mobile home?
To repair the roof of a mobile home, you can patch any leaks with roofing sealant, replace damaged shingles or metal panels, and ensure that the roof is properly sealed and insulated to prevent future issues.
What should I do if there are plumbing issues in my mobile home?
If you have plumbing issues in your mobile home, you should check for leaks, repair or replace damaged pipes, and ensure that the water pressure and drainage systems are functioning properly.
How can I address electrical problems in a mobile home?
To address electrical problems in a mobile home, you should check for faulty wiring, replace damaged outlets or switches, and ensure that the electrical system is up to code and safe to use.
What are some tips for repairing the siding or skirting of a mobile home?
When repairing the siding or skirting of a mobile home, you can patch any holes or cracks, replace damaged panels, and ensure that the exterior of the home is properly sealed and insulated to protect against weather and pests.